
 Profiles
  +91 9500107482
  Top Reasons
Efficient building of End-to-End CI/CD Pipeline with Docker: All through Code Commit to Container Deployment
In today's fast-paced development landscape, deploying software quickly and efficiently is paramount. Continuous Integration and Continuous Delivery (CI/CD) pipelines have become essential components of modern software development workflows.
In this tutorial, we'll guide you through the process of creating a comprehensive CI/CD pipeline using Docker, from code commit to container deployment.
Introduction
Efficient software development teams aim to reduce the time between conceptualizing an idea, implementing it, and deploying it to production. CI/CD pipelines automate this process, providing a streamlined workflow for development, testing, and deployment. In this tutorial, we will focus on building a CI/CD pipeline for a Dockerized Flask application. The pipeline will include steps for code commit, automated testing, Docker image creation, and deployment to a container registry.
Prerequisites
Before diving into the tutorial, make sure you have the following prerequisites:
- Docker: Familiarity with Docker and Docker Desktop installed.
- Version Control: A GitHub account or a similar version control system.
- CI/CD Automation: A CI/CD service like CircleCI.
- Cloud Service: An account with an active subscription on a cloud platform (e.g., Azure, AWS) for container deployment.
- Programming Language: Python (>3.6) installed on your workstation.
- Container Registry: For this tutorial, we'll use Docker Hub as the container registry.
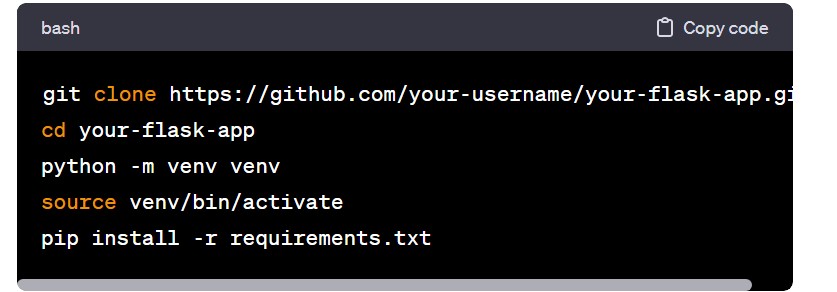
Setting up the Development Environment
To illustrate the concepts, we'll use a simple Flask application. Clone the repository and set up your virtual environment:
Testing the Code
Tests are crucial in any CI/CD process. The sample application uses ‘pytest’ for testing. Run the tests to ensure everything is functioning as expected:
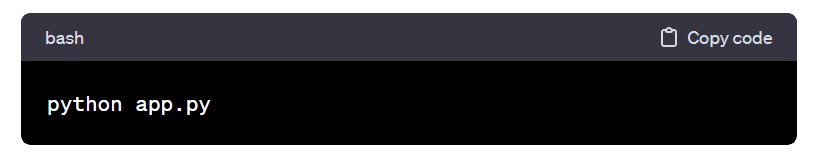
 You can also run the application locally:
 Visit ‘http://localhost:5000’ in your browser to verify the application's functionality.
Dockerizing the Application
Create a ‘Dockerfile’ in the project root with the following content:
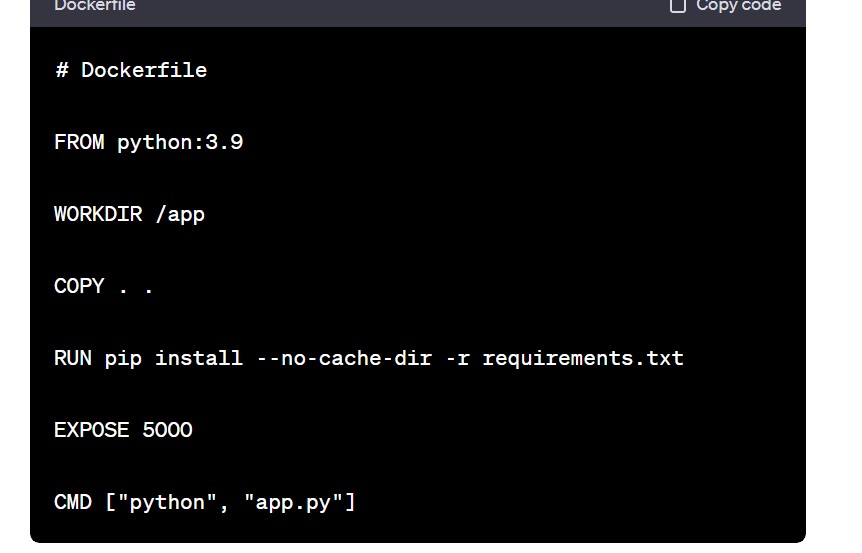
This ‘Dockerfile’ sets up a Python environment, installs the necessary dependencies, and runs the Flask application.
Setting up Docker Hub
- Authenticate with Docker Hub:

- Create a Docker Hub Repository:
- Go to Docker Hub.
- Create a new repository for your Flask application.
Building and Pushing Docker Images to Docker Hub
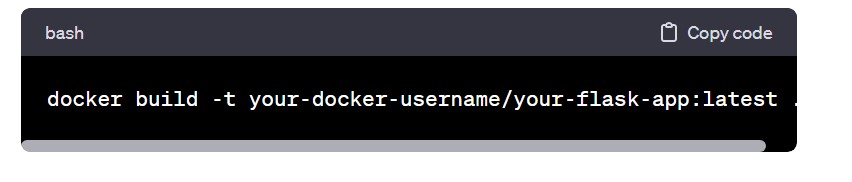
Build the Docker image:
 Run the Docker image locally:
 Push the Docker image to Docker Hub:
 Setting up the CI/CD Pipeline with CircleCI
Create a ‘.circleci/config.yml‘ file in the project with the following content:
version: 2.1
jobs:
build:
docker:
- image: docker:19.03.13
steps:
- checkout
- setup_remote_docker
- run:
name: Build Docker Image
command: docker build -t your-docker-username/your-flask-app:latest .
- run:
name: Push to Docker Hub
command: docker push your-docker-username/your-flask-app:latest
workflows:
version: 2
build:
jobs:
- build
This CircleCI configuration defines a simple workflow with a single job (‘build’). It checks the code, builds the Docker image, and pushes it to Docker Hub.
Connect the Project with CircleCI
- Migrate your code to a GitHub repository:
- Create a new repository on GitHub.
- Push your code to the GitHub repository.
- Connect GitHub repository to CircleCI:
- Go to the CircleCI dashboard.
- Navigate to "Add Projects" > "Set Up Project" for your repository.
- Configure Environment Variables:
- In the CircleCI dashboard, go to your project settings.
- Navigate to "Environment Variables" and add the following variables:
- DOCKER_USERNAME: Your Docker Hub username.
- DOCKER_PASSWORD: Your Docker Hub password (or access token).
Conclusion
Embracing CI/CD practices ensures swift feature delivery, elevated code quality, and a resilient deployment process. As you evolve your CI/CD pipeline, consider integrating automated testing, security scans, and seamless deployment to production environments.
For expert guidance on optimizing your CI/CD processes and leveraging container technologies, we recommend engaging with PiccoTalent. With their team of skilled developers, they offer comprehensive support in setting up CI/CD pipelines and integrating Docker, ensuring your project reaches its full potential. Elevate your development journey with PiccoTalent's expertise and dedicated services.
